 English


In this article I would like to talk about such a common form of shooting for catalogs. On the one hand, lighting in such surveys seems simple and low-tech, but on the other hand, there are some important features that you need to pay attention to make the picture really high-quality. In my opinion, we can select the following aspects:
• Uniform lighting on the model
• Image volume
• The ability of the model to move when posing
• Ability to shoot with high intensity
So, let’s start in order. Filming the catalog implies a fairly intensive process, in which you need to shoot a large number of bows for a limited time. Often, it turns out that there is simply no time to change the lighting for each bow. This should be taken into account in the initial planning of lighting in the frame. When shooting clothes, it is very important that the model is evenly illuminated, as noticeable changes in exposure will strongly affect the perception of clothing, and may even distort colors, which can be very critical for the customer.
The correct combination of highlights, shadows and reflexes always creates a three-dimensional image that is attractive to the eye, which in turn makes it more profitable for advertising purposes. When planning lighting with respect to contrast, you should consider that it should not be very different for light and dark clothes. It would seem that the contrast can be added in subsequent processing, but this can lead to distortions in the color of clothes, and the processing of a large number of pictures is not a quick process, so it’s better to save time when shooting.
Beautifully and intricately exposed light often “locks” the model in a certain position, and “falls apart” when you move it even a step to the side. And this greatly limits the positional possibilities and complicates the shooting process. Do not forget that there will be many bows, and a variety of poses is very important.
Experienced models, as a rule, often enough and easily change the pose, and you need to have time to remove the very moment from the first take, so that the pose was maximally lively and natural. However, when shooting at high power (maximum and close to it), the devices have the ability to recharge not instantly, which can sometimes slow down the intensity of the survey, or even lead to a technical marriage in which one of the devices did not work at the required power, or did not work At all. To do this, when setting the light, it is necessary to select the correct nozzles and power, which will avoid such unpleasant situations.
Also, I want to add that not always the studio in which you have to work has a large selection of light-shaping attachments, but there is always a “standard set” of a large soft box and a standard reflector that, if used correctly, will allow you to achieve an excellent result. And to complicate the light scheme, I use “all that is” in the studio is not worth it.

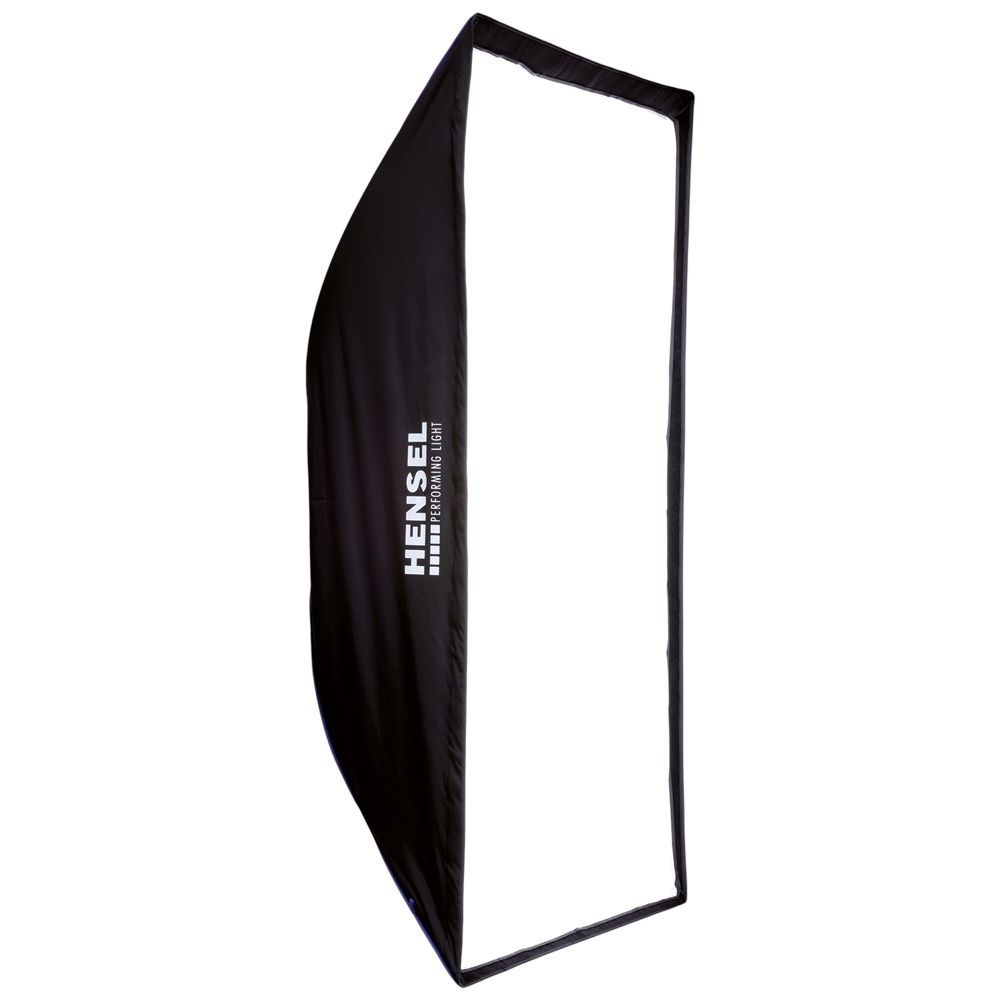
Now, about the light scheme that suited me for this shooting. I used 2 HENSEL EXPERT D 500 devices. As a drawing light, I used the SOFTBOX HENSEL 120 X 180 to the left of the model. It was raised to a height of about 2.5 meters, shifted by almost one line to the model at a distance of about 1.7-2 meters and rotated from the background approximately as shown in the diagram. This allowed me to get a uniform flare on the model and limit the influence of lighting on the background.


To align the lighting on the model and fill the shadows, I used the HENSEL 12″-REFLECTOR behind me, and pointed back and slightly up and to the left of the camera, which allowed” putting “the light more to the right (less lit part of the model). Such a move allowed me to get very soft and diffuse lighting, which I could achieve only by using a very large (about 2.5 meters in diameter) nozzle.

HENSEL 12″– REFLECTOR
Such a light solution made it possible to obtain uniform and moderately contrast lighting, which allowed the models to move quite comfortably when posing.
A very important moment in creating lighting in a scene is always the distance from the light source to the object – remember that the closer the light, the softer and more contrasting, and vice versa. Also, the closer the light, the more intense it is.
The relatively close location of the drawing light (and, correspondingly, its high intensity) allowed me to put a small amount of power out of it. The filling light was also at low power, as 12 “- HENSEL REFLECTOR has a very high light output ratio.
Thus, both devices were exposed to a small power, which allowed me to carry out a very intensive survey and be sure that the light would recharge quickly. Also, a small power always carries a nice bonus in the form of a short pulse, at which the likelihood of obtaining lubrication is very small.

© Pavel Molchanov
It is also important to pay attention to the following pitfalls:
When using reflected light from the entire room, it is worthwhile to be cautious, because if there are brightly colored areas in the room, then the light, reflecting from them, also tint.
When shooting in a large room, the intensity of the reflected light will be less, which will result in an increase in power, and as a result, an increase in the recharge time. In such a situation, the use of such light can be inexpedient.
When shooting in a studio with dark walls / ceiling / floor, you will also have to significantly increase the power of the fill light if you want it to be reflected from the room.
Advertising photographer Pavel Molchanov.


